
How to debug SceneLib 1.0 with Eclipse
For the last preparation before starting to study about the SceneLib library and Visual SLAM, here is a post describes how to debug SceneLib with Eclipse. Regarding how to install SceneLib 1.0 on Ubuntu 10.04, please refer to the previous post.
1. Have SceneLib and other components in a folder
All you need are glow_104, MonoSLAMGlow, SceneLib, VW34 and TestSeqMonoSLAM folders.
2. Clean and configure
If you have ever compiled and/or configured any component, please clean and/or re-configure them as below.
// GLOW Toolkit
$ cd glow_104
$ cd glow_src
$ sudo make clean
$ sudo make
$ sudo ln -s libglow.a.1.0.2 libglow.a
// VW34 Library
$ cd VW34
$ sudo make clean
$ sudo rm configure
$ ./bootstrap
$ ./configure
$ sudo make
$ sudo make install
// SceneLib
$ cd SceneLib
$ sudo make clean
$ ./configure
$ sudo make
$ sudo make install
// MonoSLAMGlow
$ cd MonoSLAMGlow
$ sudo make clean
$ sudo make
3. Modify MonoSLAMGlow/Makefile
Add all: ${EXECUTABLE) before $(EXECUTABLE):$(OFILES) to make a target correctly as below.
# Executable
all: $(EXECUTABLE)
$(EXECUTABLE): $(OFILES)
4. Run Eclipse and select the folder as a workspace
I installed Eclipse IDE for C/C++ Linux Developers - Indigo Service Release 1 Version on Ubuntu 10.04. In the Eclipse IDE, choose File->Switch Workspace->Other..., and select the folder as a workspace.
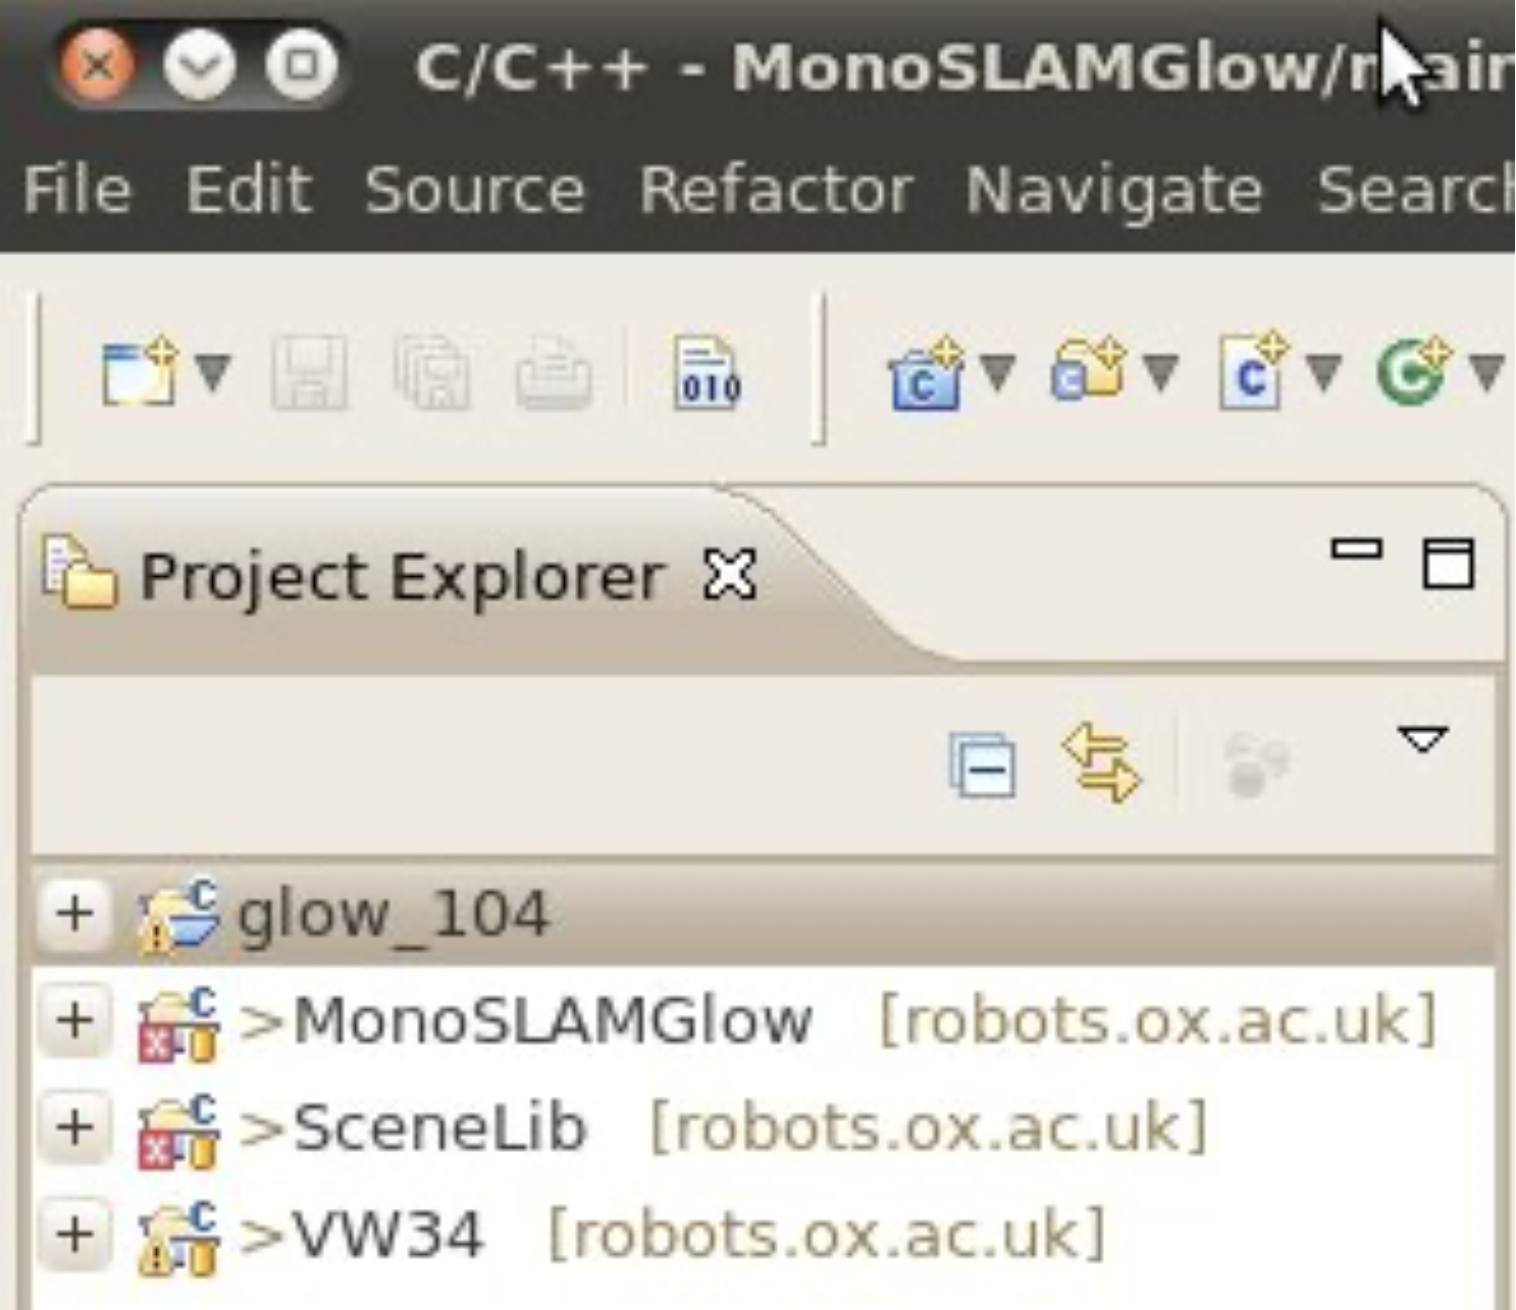
5. Add SceneLib and all other components as projects to Eclipse
In the Eclipse IDE, choose File->New->Makefile Project with Existing Code, select a folder using the Browse... button, and click the Finish button after selecting Linux GCC for Toolchain for indexer Settings. Do the same things for all components (i.e., glow_104, MonoSLAMGlow, SceneLib and VW34). You should see all added projects in the ‘Project Explorer’ window as below.
6. Change Build location of the glow_104 project
In the Eclipse IDE, right click on the glow_104 project, choose Properties, click C/C++ Build. On the Builder Settings tab, select glow_104->glow_src using the Workspace... button as its make file is located in the glow_src folder.
7. Modify glow_104/glow_src/Makefile
To build GLOW Toolkit in the debug mode, change CFLAGS_Linux and CFLAGS_IRIX as below.
CFLAGS_Linux=-Wall \
 -DGLOW_PLATFORM_LINUX \
 -DGLOW_PLATFORM_LITTLEENDIAN -g
#NODEBUGCFLAGS_Linux=-O2 -DNODEBUG
CFLAGS_IRIX=-fullwarn -no_auto_include \
 -LANG:std \
 -woff 1209,3201,1424,1375 \
 -OPT:Olimit=0 \
 -I../Compat-SGI \
 -DGLOW_COMPAT_CLIBNOSTDNAMESPACE \
 -DGLOW_PLATFORM_IRIX \
 -DGLOW_PLATFORM_BIGENDIAN -g
#NODEBUGCFLAGS_IRIX=-O2 -DNODEBUG
8. Rebuild all component in the Eclipse IDE
Right click on each project, select Clean Project and Build Project sequentially.
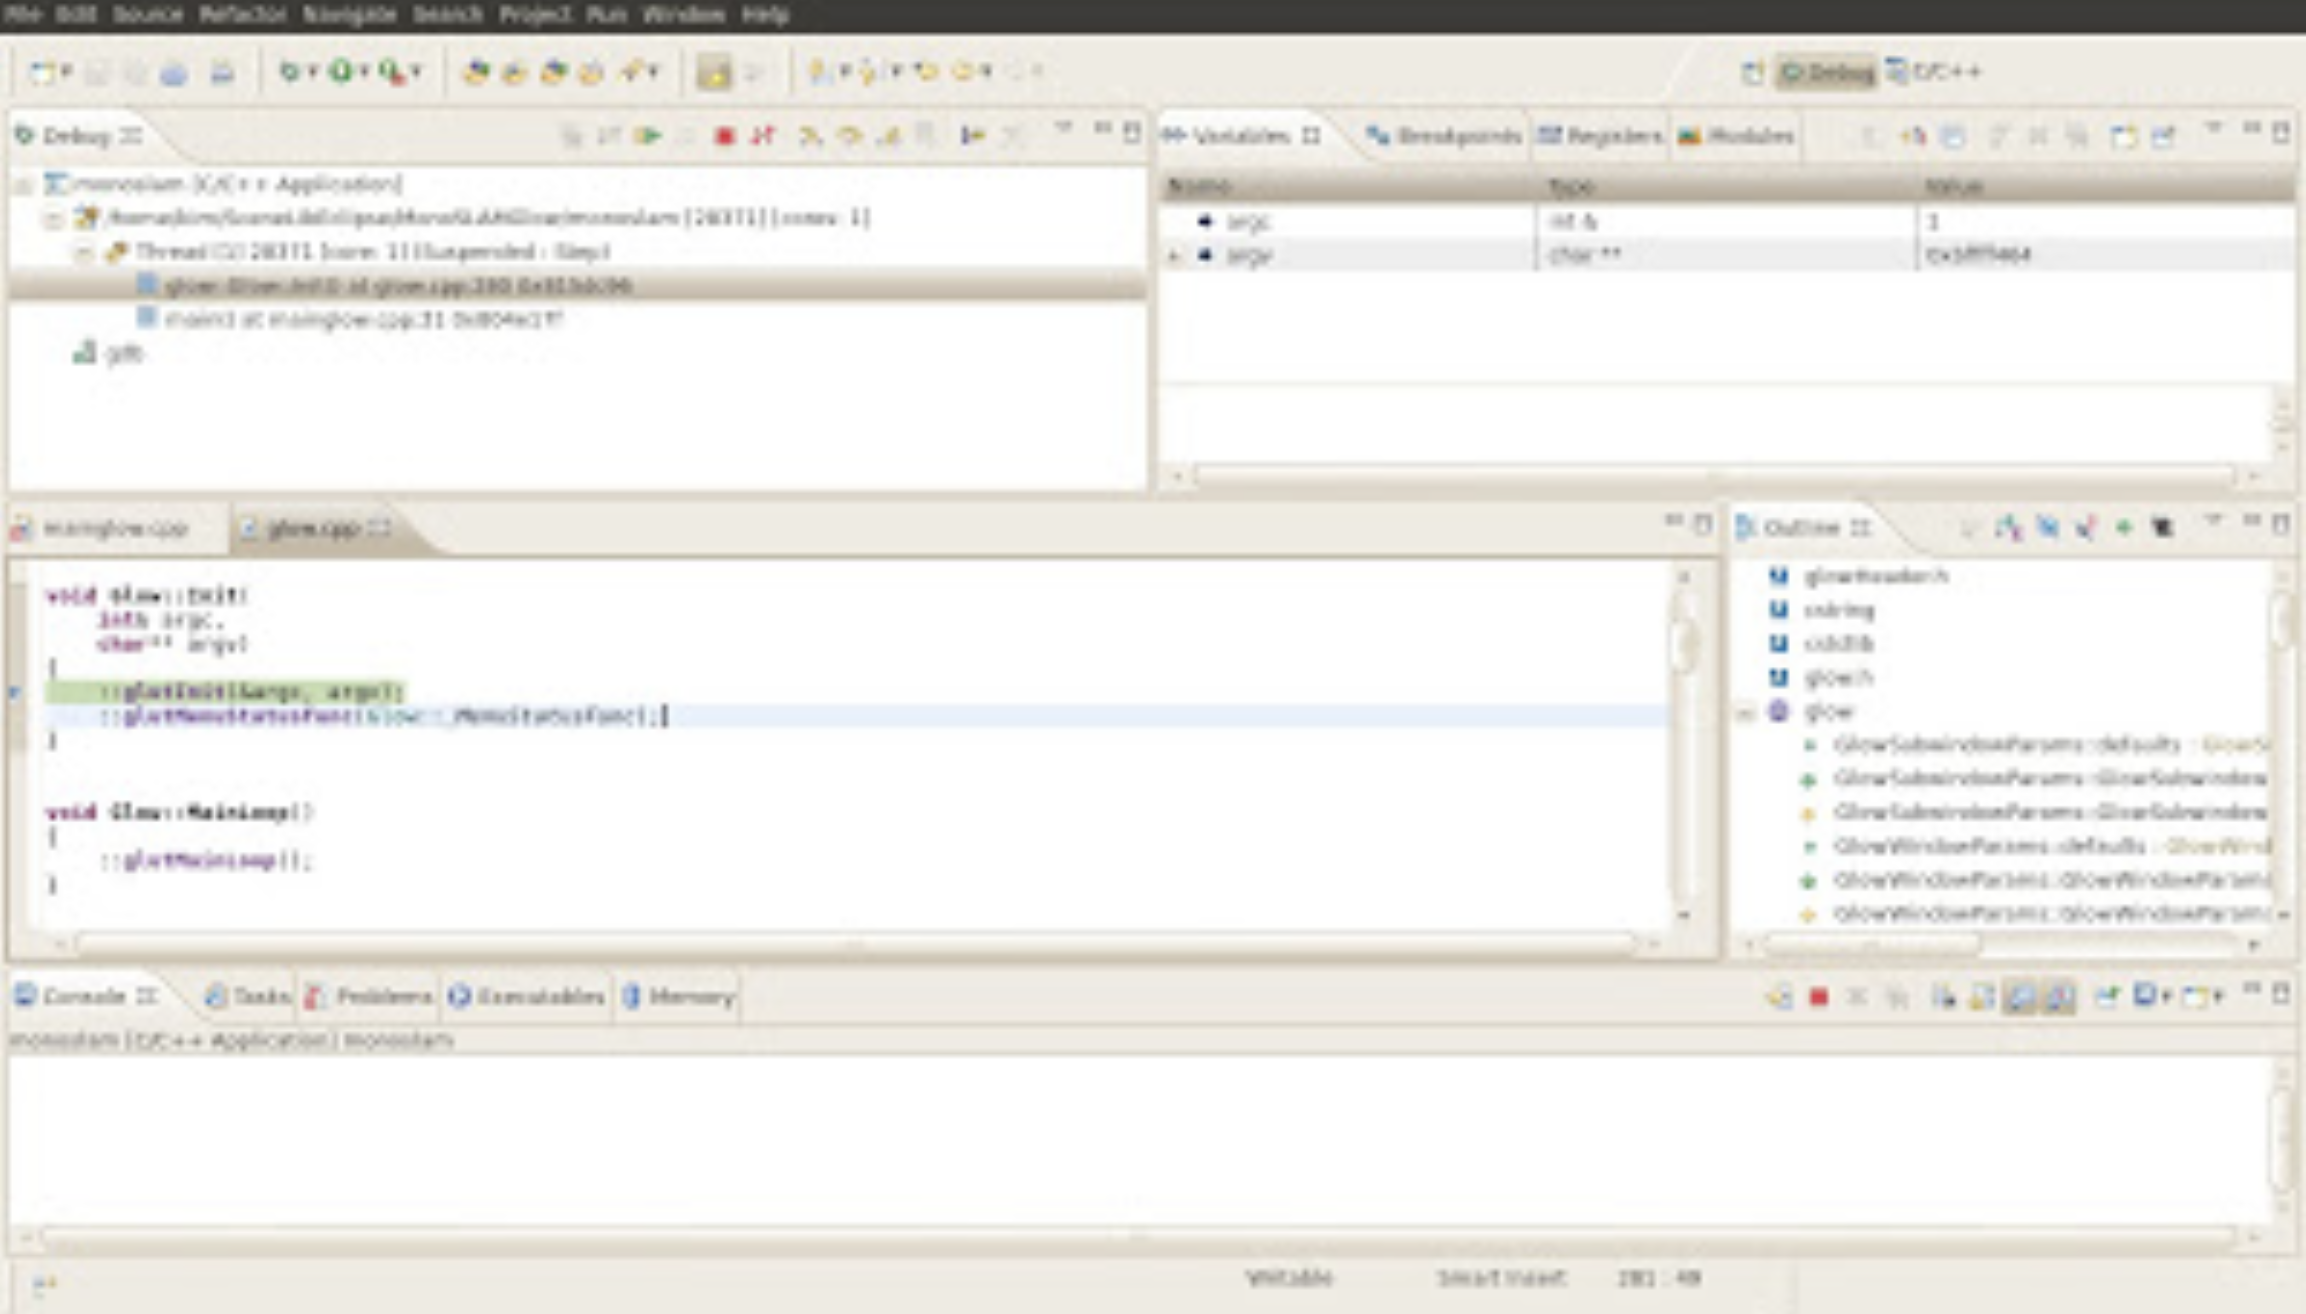
9. Debug MonoSLAMGlow
You can debug MonoSLAMGlow by selecting 1 monoslam from the Debug icon.
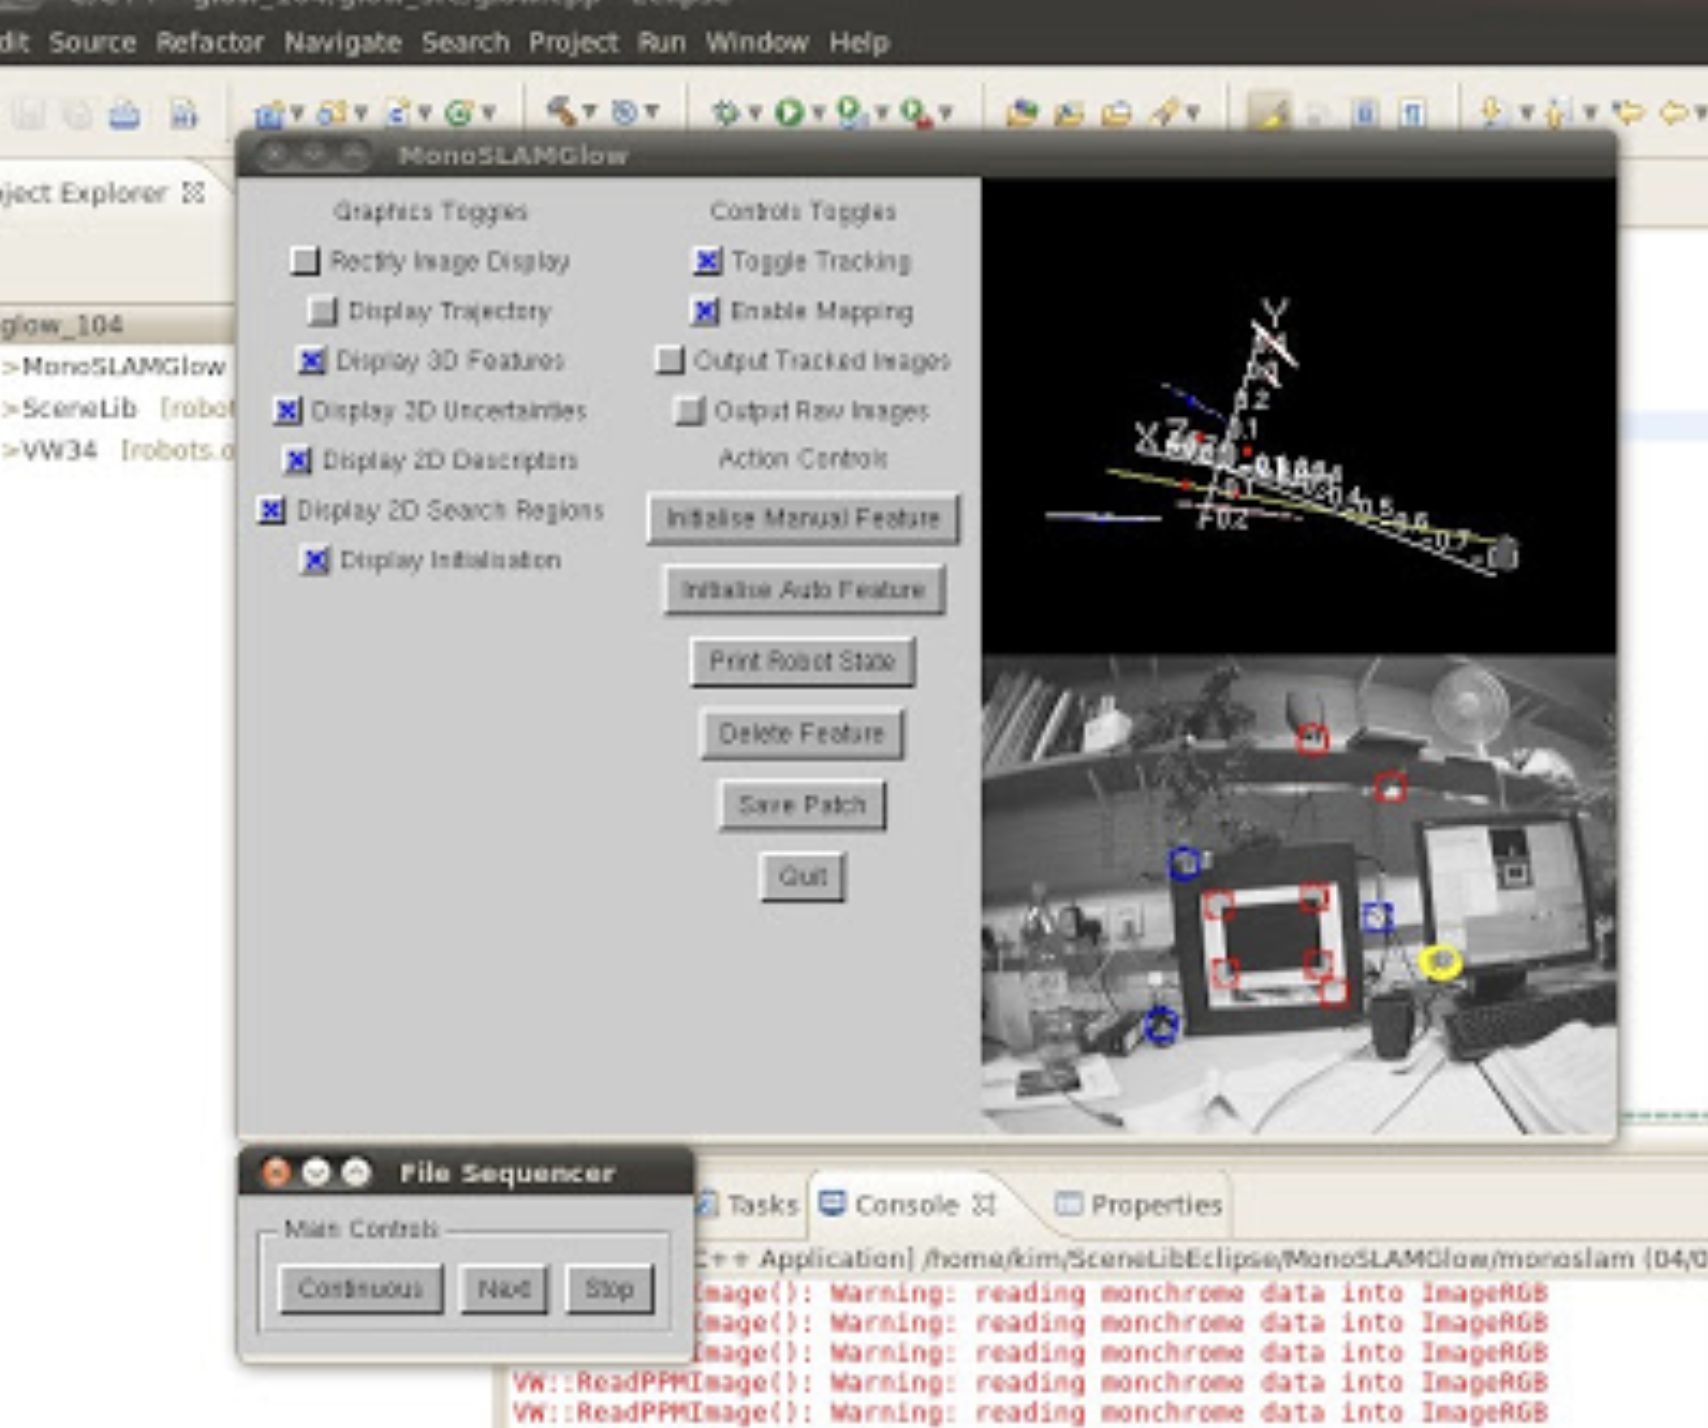
10. Run MonoSLAMGlow
Right click on the MonoSLAMGlow project, choose Run As->Local C/C++ Application, and click OK button after selecting gdb/mi as a configuration to run.
Now is the time to start reading Andrew Davison’s papers and delving the SceneLib’s source code! :)
[Update on 18/06/2012]
If you cannot use Open Declaration (F3) on a function when you are debugging, and if you get a warning or error message something like ... unresolved inclusion ... or ... could not be resolved ... on the function, please add its source folder following below.
- Right click on the project, and select
Properties. - Select
C/C++ General - Paths and Symbols. - Select
Includestab andGNU C++. - Add its source folder using
Add...button.